- Home
- Cooking over a fire pit
How to guide
Cooking over a fire pit
Not flame. Coals. Everything about live fire cooking that actually works comes down to that one distinction and building the fire around it.
The direct answer
Build the fire 30 to 45 minutes before you plan to cook, let it burn down to a glowing coal bed rather than active flame, and set your grate 6 to 8 inches above the coals for searing or 10 to 12 inches for slower cooking. Cooking over open flame instead of coals is the single most common mistake.
The short version
- Cook over coals, not flame. Flame is inconsistent and prone to flare ups.
- Build the fire early. A proper coal bed takes 30 to 45 minutes to develop.
- Create heat zones by pushing coals to one side, so you have both a hot and a cool area.
- Grate height controls intensity as much as the fire itself does.
- Hardwood makes better cooking coals than softwood, since it holds heat longer.
Most people who try cooking over a fire pit for the first time make the same mistake: they throw food on a grate while the fire is still actively flaming, get inconsistent results, burnt on the outside and raw in the middle, and conclude that fire pit cooking is harder than it actually is. The fix is almost entirely about patience and heat management, not technique or equipment.
Section oneBuild a coal bed first
This is the single most important habit in this entire guide.
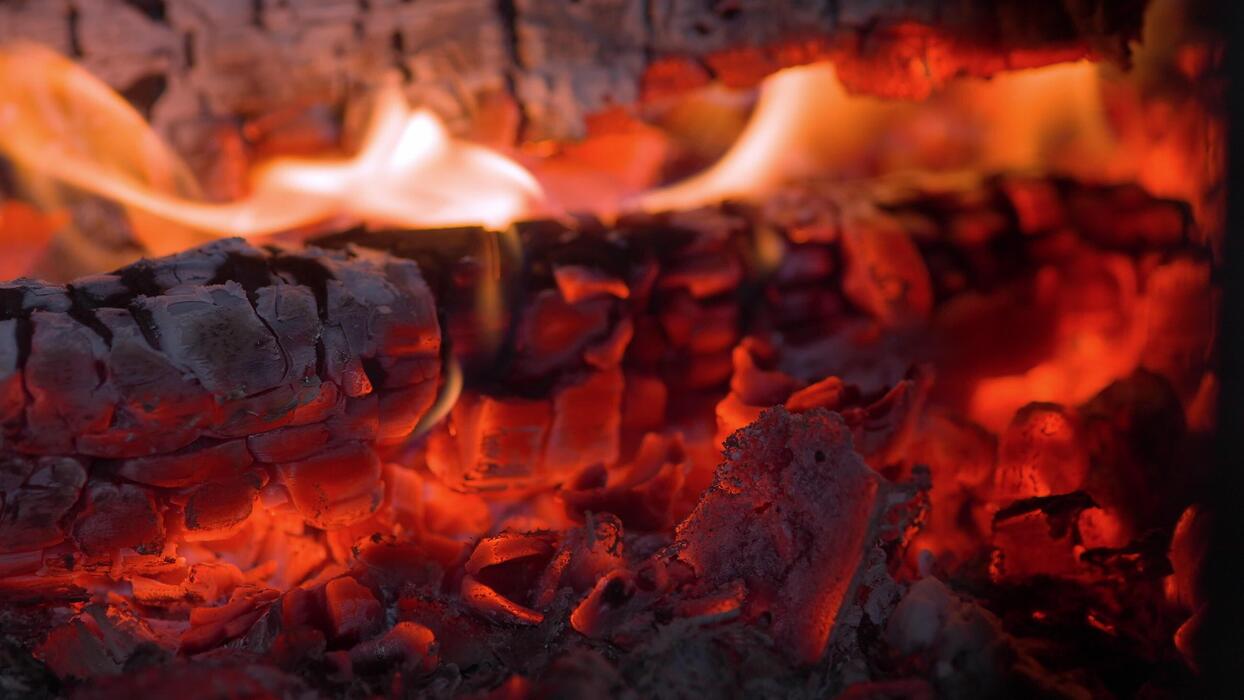
Open flame licks unevenly and flares dramatically the moment fat or oil drips onto it, which is why professional grill cooks and campfire cooks alike work almost entirely over coals rather than visible fire. A bed of glowing coals radiates steady, even, controllable heat with none of that unpredictability.
- Light the fire 30 to 45 minutes before you plan to cookLonger for a bigger fire or denser hardwood, since it takes real time to burn down into usable coals.
- Let it burn down fullyYou want glowing, ash covered coals with no more than the occasional small flame, not an actively burning fire.
- Spread the coals evenlyUse a poker to distribute them across the base rather than leaving them piled in one spot.
- Test the heat with your handHold your palm at grate height. If you cannot hold it there for more than a couple seconds, the coals are hot and ready for searing.
Section twoDirect and indirect heat zones
The technique that separates a good cook from a burnt one, especially with anything thicker than a burger.
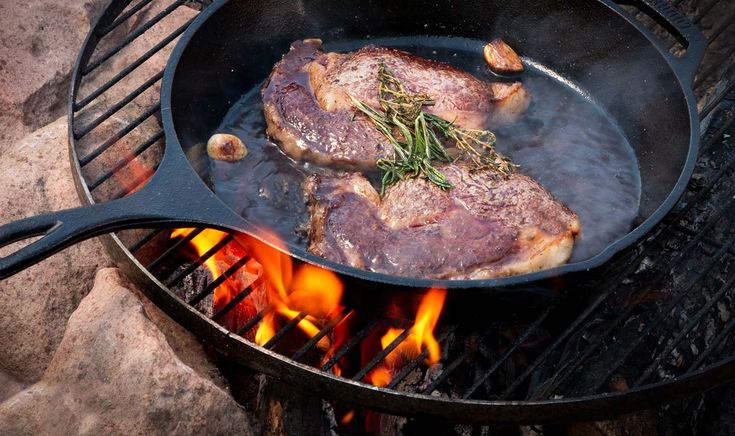
Diagram
Two zone fire setup
Bank coals densely under one half of the grate for searing, and leave the other half with few or no coals. Sear over the hot side, then move food to the cool side to finish cooking through without burning the exterior.
This two zone approach solves the exact problem that ruins most fire pit cooking: a thick cut of meat needs a hot sear on the outside but gentler, longer heat to cook through without burning. Searing and finishing on the same intensity of heat forces a compromise. Two zones remove that compromise entirely, and it costs nothing extra, just a poker and a few minutes of setup.
Section threeGrate height controls intensity
The second lever, and one most people never adjust.
| Grate height above coals | Best for |
|---|---|
| 6 to 8 inches | Direct searing, burgers, steaks, quick vegetables |
| 10 to 12 inches | Slower cooking, thicker cuts, indirect finishing |
| 14 inches or more | Gentle warming, keeping food from cooling too fast |
An adjustable grate is worth the small premium over a fixed height one, since it lets you dial intensity up or down mid cook without moving the coals themselves. Lowering the grate is the fastest way to sear something that is cooking too slowly; raising it is the fastest fix for something charring before it is done inside.
Section fourPractical tips that actually matter
- Use hardwood, not softwood, for the coal bed. Oak, hickory, and similar dense woods hold coal heat far longer than pine, which burns fast and leaves little usable coal behind. Species detail is in our firewood guide.
- Oil the grate, not just the food. A light coat of high smoke point oil on the grate itself prevents sticking far more reliably than oiling food alone.
- Keep a spray bottle of water nearby. Not to douse the fire, but to calm sudden flare ups from dripping fat without disturbing your coal bed.
- Do not constantly move the food. Let a sear actually form before flipping. Constant flipping is a common reason food sticks and tears.
- Rest meat off the grate the same way you would off a regular grill, since fire pit heat does not change that basic rule.
Match the grate to the pit
A universal round grate fits most open wood burning fire pits, but pits with an engineered secondary combustion system sometimes have purpose built cooking accessories designed around their specific airflow. A generic grate placed over vent openings can interfere with how a smokeless pit is designed to draw air. Check accessory compatibility for your specific model before assuming a universal grate is the right fit.
Keep readingRelated guides
QuestionsFrequently asked
Do you cook over flame or coals in a fire pit?
Coals, almost always. Open flame is inconsistent and prone to flare ups from dripping fat, while a bed of glowing coals radiates steady, even heat. Build the fire early, let it burn down to coals, then start cooking, rather than trying to cook over active flame.
How long before a fire pit is ready to cook over?
Typically 30 to 45 minutes after lighting, once the wood has burned down to a glowing, ash covered coal bed with no more than occasional small flames. Rushing this step is the most common reason food burns on the outside while staying raw inside.
What grate height is right for cooking over a fire pit?
Roughly 6 to 8 inches above the coal bed for direct searing, and 10 to 12 inches for slower, indirect cooking. Many adjustable grates let you raise or lower this on the fly, which is more useful in practice than a fixed height, since different foods want different distances from the heat.
Can you use any fire pit for cooking?
Most open wood burning fire pits can accept a universal cooking grate. Pits with an engineered secondary combustion system sometimes have purpose built cooking accessories designed around their specific airflow, and a generic grate may not fit or perform as well as one made for that model.